
Setting up the calculator in a quiz
Setting up a calculator in a quiz allows the customer to calculate something (for example, the cost of services to let them know the approximate price range). It can increase customer loyalty and quiz conversion.
Let us consider the example of using a formula to make such an estimation. The quiz will take care of the calculations automatically.
To start, add questions to the quiz. To set up the calculator, you can use all types of questions except Date, Inter-page, File upload, and Input field.
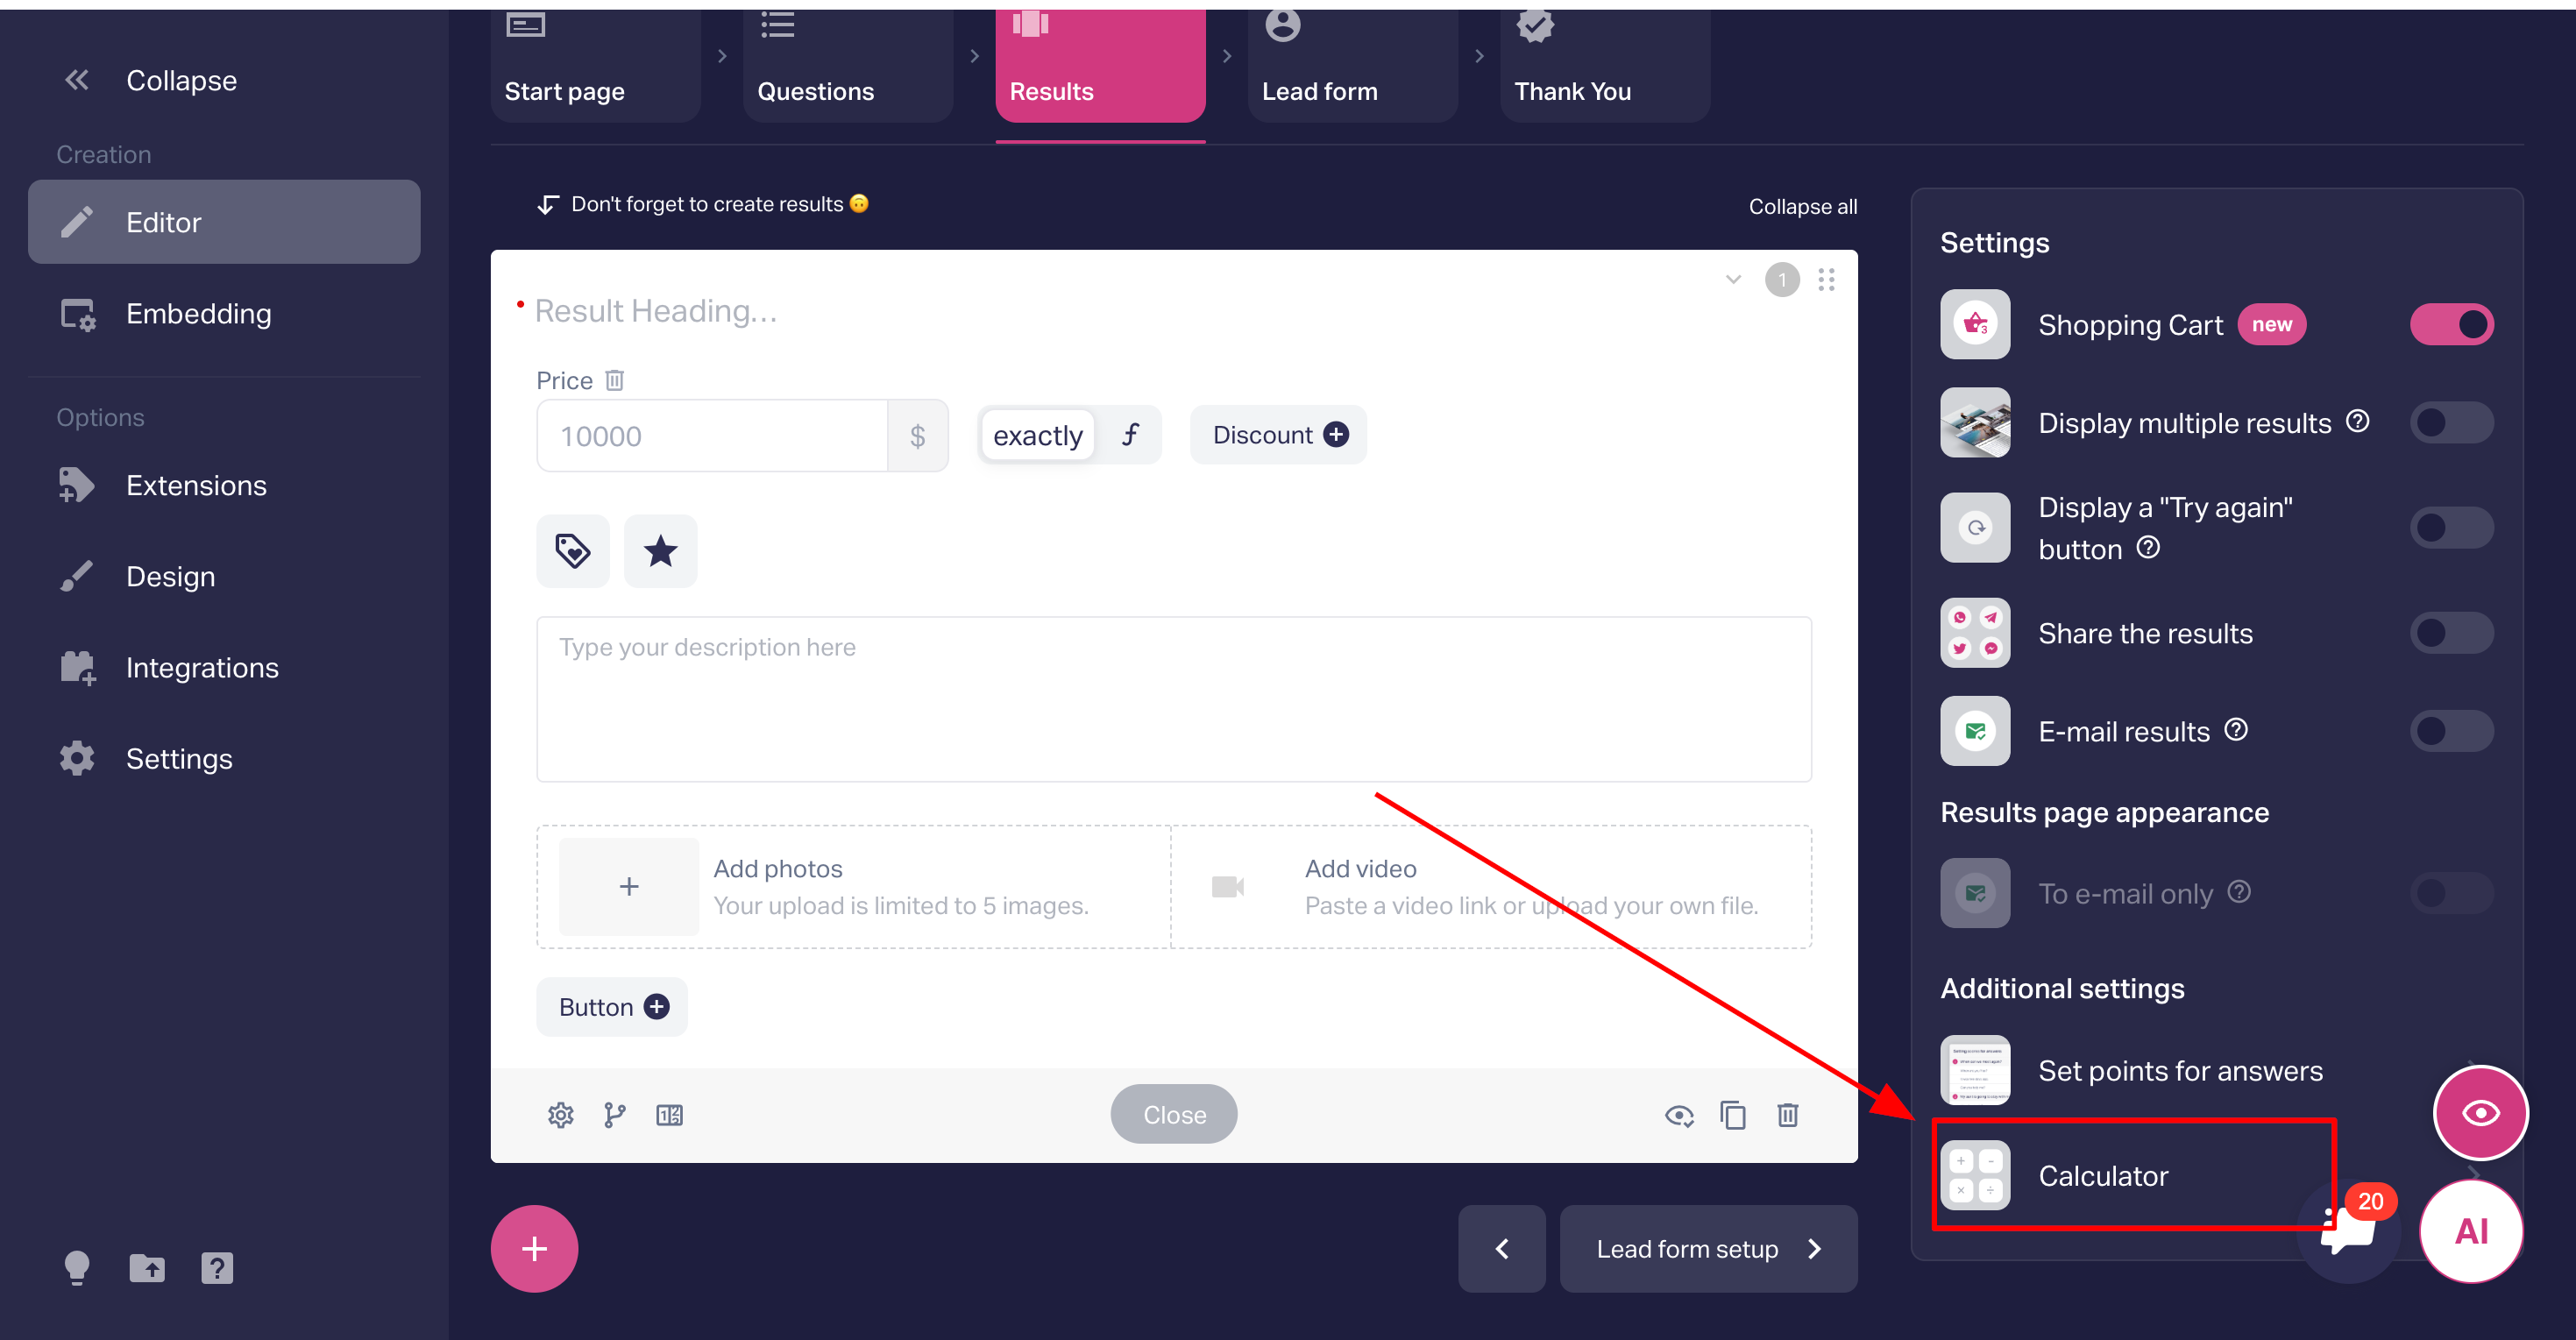
Go to Results to get to calculator settings and create an outcome, otherwise, you won’t see the calculated price in the quiz. Don’t forget to add an outcome heading and publish the quiz to save the outcome.
Choose Calculator. Set values and formula.
A window in which you can enter a formula will appear. The formula will be used to calculate the resulting value.

If you are making the quiz from scratch, you’ll need to think of a calculation formula.
Let’s use the quiz “Cleaning services” as an example and calculate the price of work.
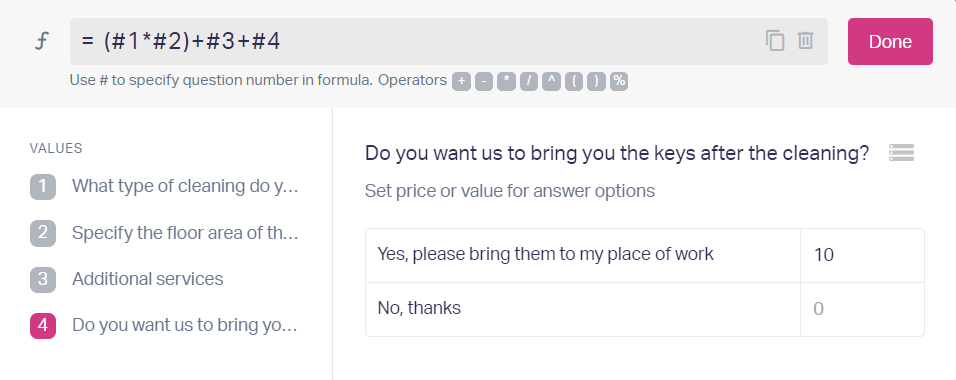
Firstly, choose the question which will influence the price and set value to each variable opposite the answer options.

Enter the calculation formula. To specify the question number in the formula, use # as in the example.
You can also use the following operators in the formulas:
+ addition,
- subtraction,
* multiplication,
/ division,
^ raising to a power,
( open brackets,
) close brackets,
% percentage.
The price of work in our quiz depends on several factors: type of cleaning, floor area of the room, additional services. To calculate the result, we enter the following formula:
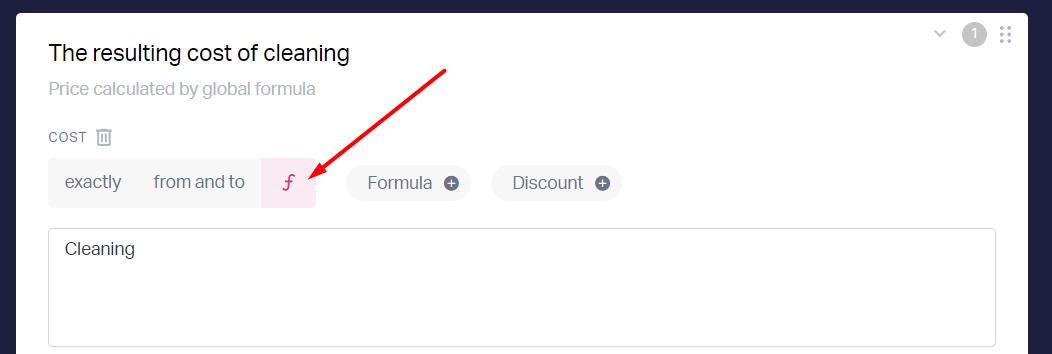
In outcomes we need, we choose to calculate the cost using the formula.
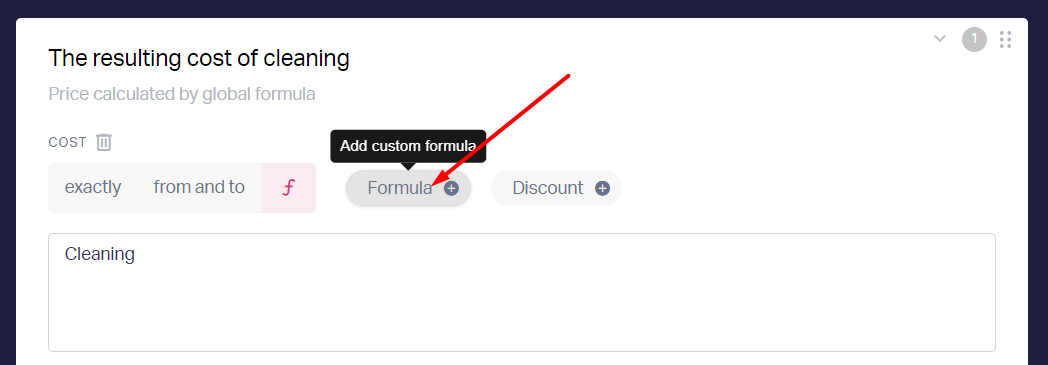
Additionally, you can add a custom formula for each outcome and it’ll only work for the specific outcome and will have priority over the global formula.
Plus, here you can add a discount for each outcome individually:
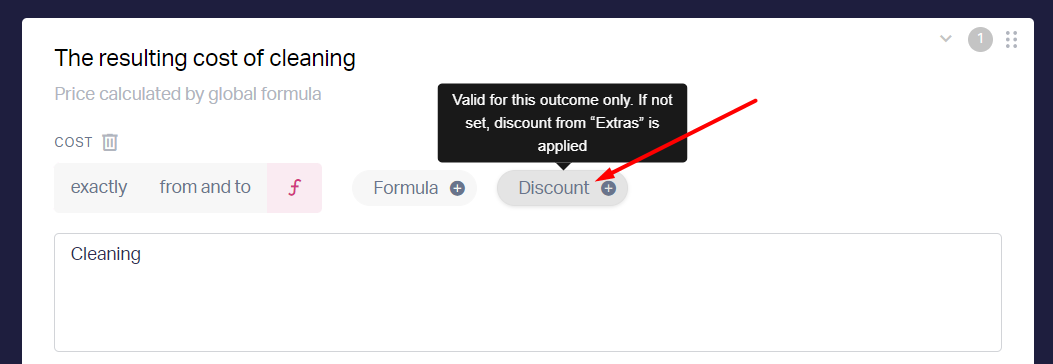
This discount will be valid only for the specific outcome. If this custom discount is not set, the quiz will use the discount from “Extras”.
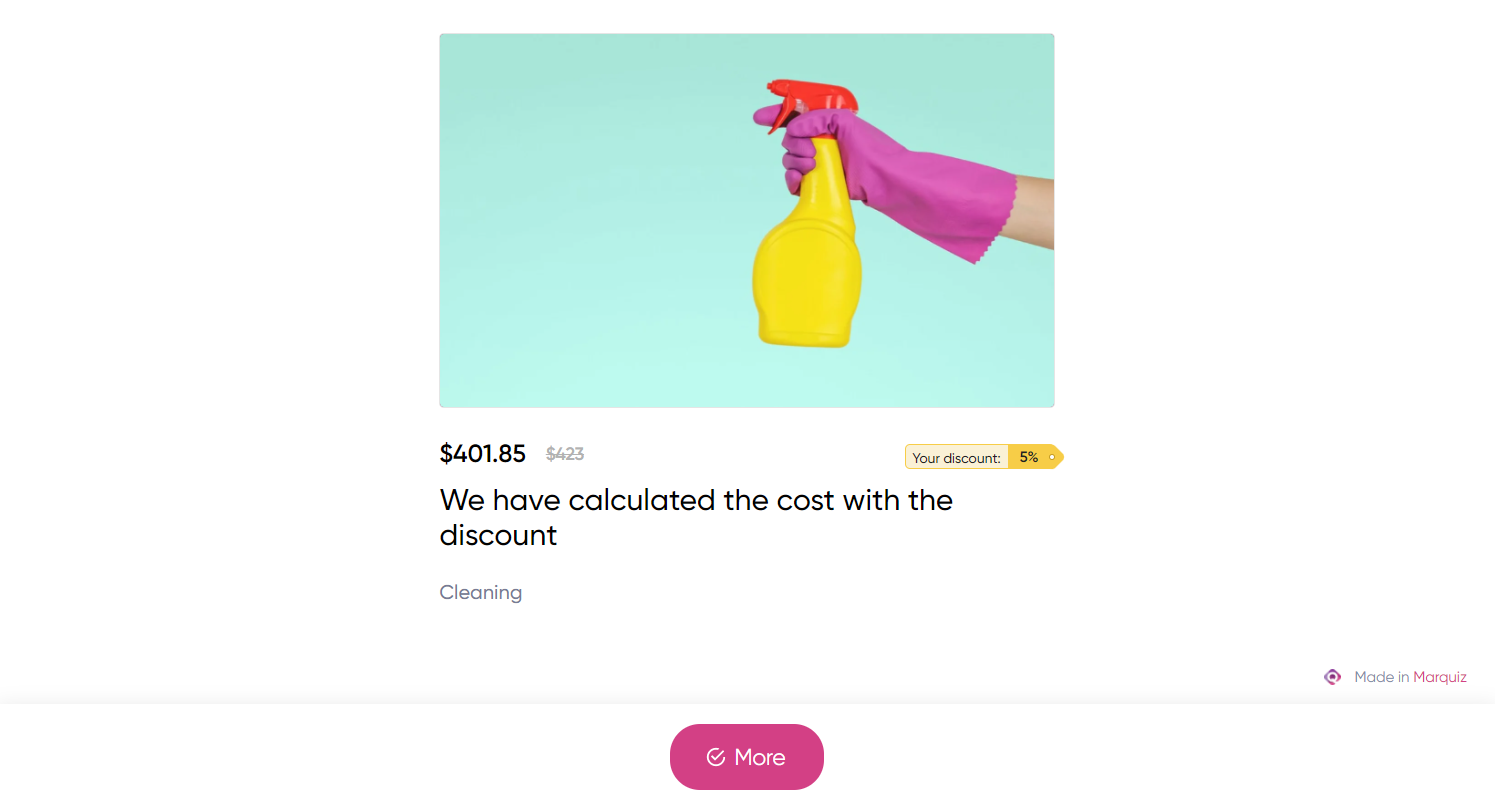
You can use the substitute {formula} in the outcome heading and text fields. When the client takes the quiz, it will be replaced by the calculated price.
Let us publish the quiz and see how the calculations work:
A piece of advice: To make the process of setting up and testing the outcomes easier, switch to showing the outcomes before lead form. After finishing the setup, you can switch back to showing them after lead form.
If the calculations do not work, check if the formula is correct and try publishing the quiz and testing it again.
Bear in mind that having too many questions in the quiz makes it more difficult for the customer. The optimal amount of questions is 5-7 (although there are exceptions).