How to integrate a quiz with Mailchimp
To set up an integration with Mailchimp and send leads from the quiz there, you will need a Mailchimp API Key and a Server Prefix.
Important: in order for the integration to work, you need to add the email field to the lead form, setting it as required.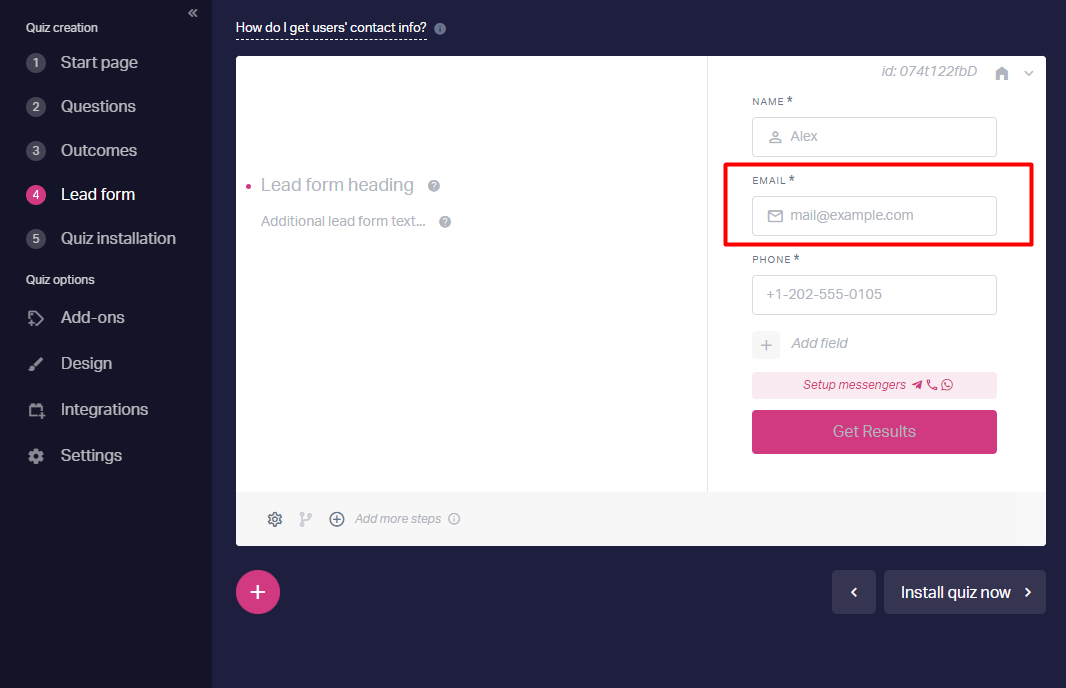
To get your Mailchimp API Key, you need to follow these steps:
1. Log in to your Mailchimp account.
2. Go to your profile. 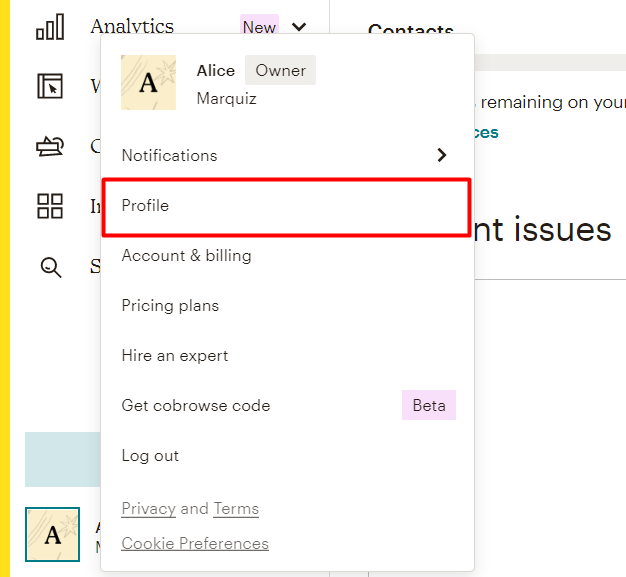
3. Click on “Extras” located on the navigation menu at the top of your profile and select “API keys” from the drop-down menu.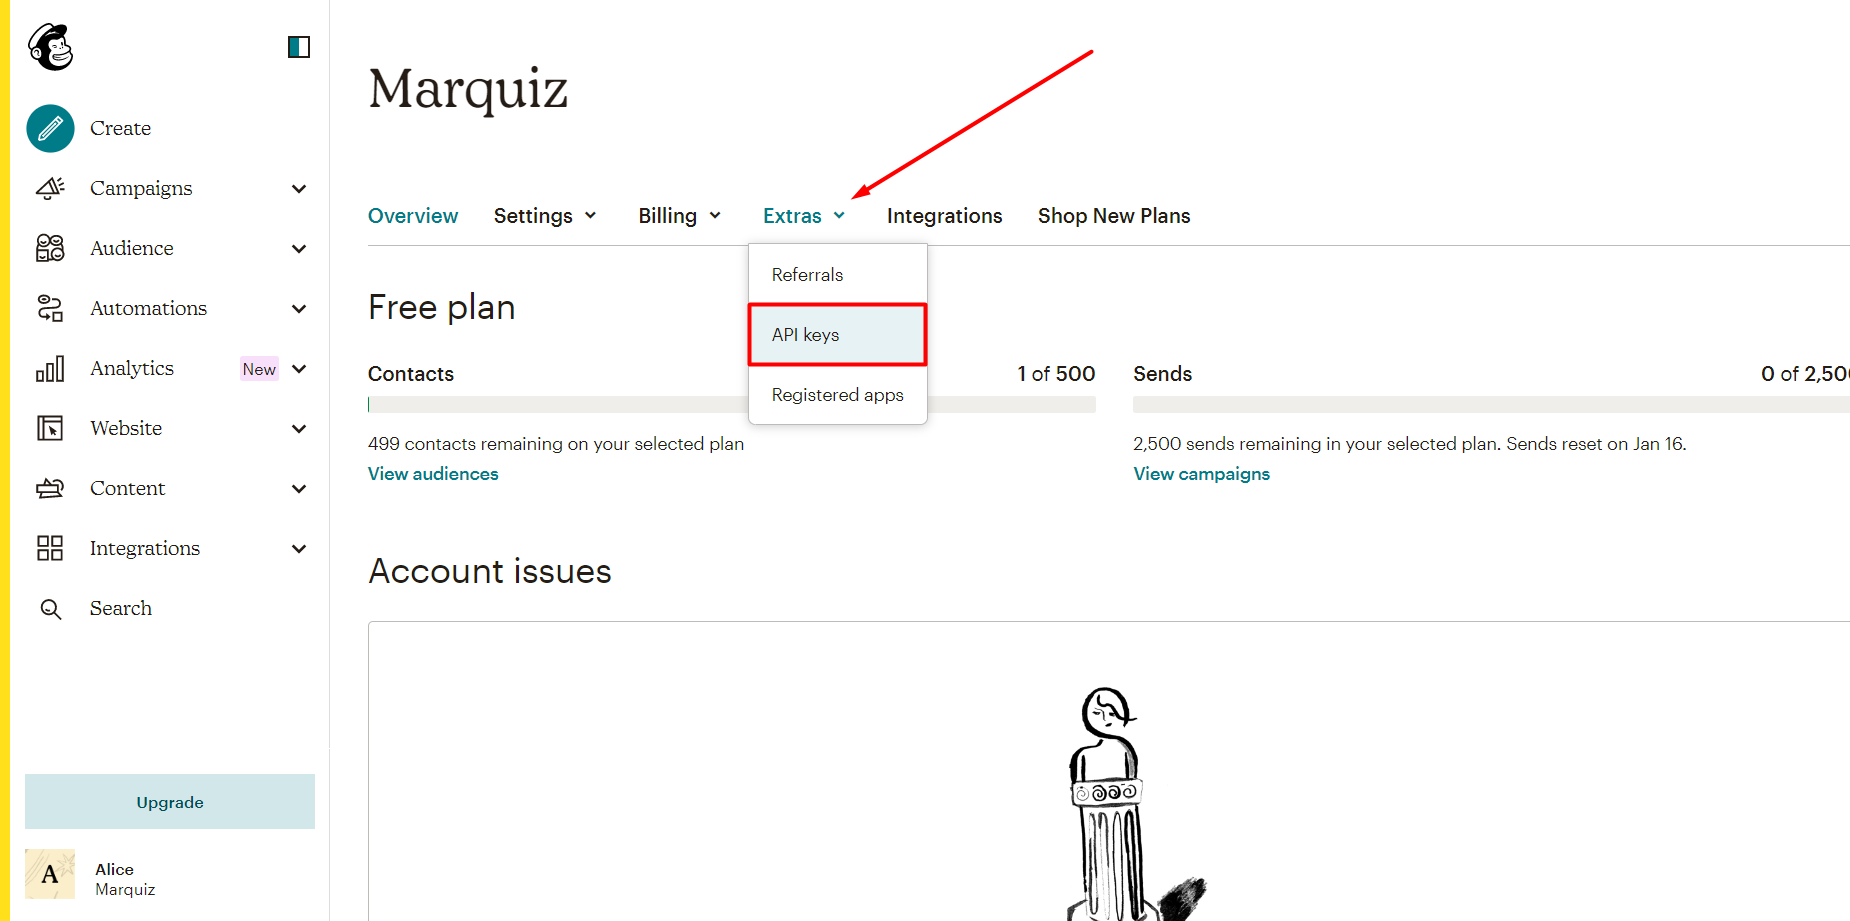
4. The page with your API keys will load. If you haven't created keys yet, you will need to click on “Create A Key".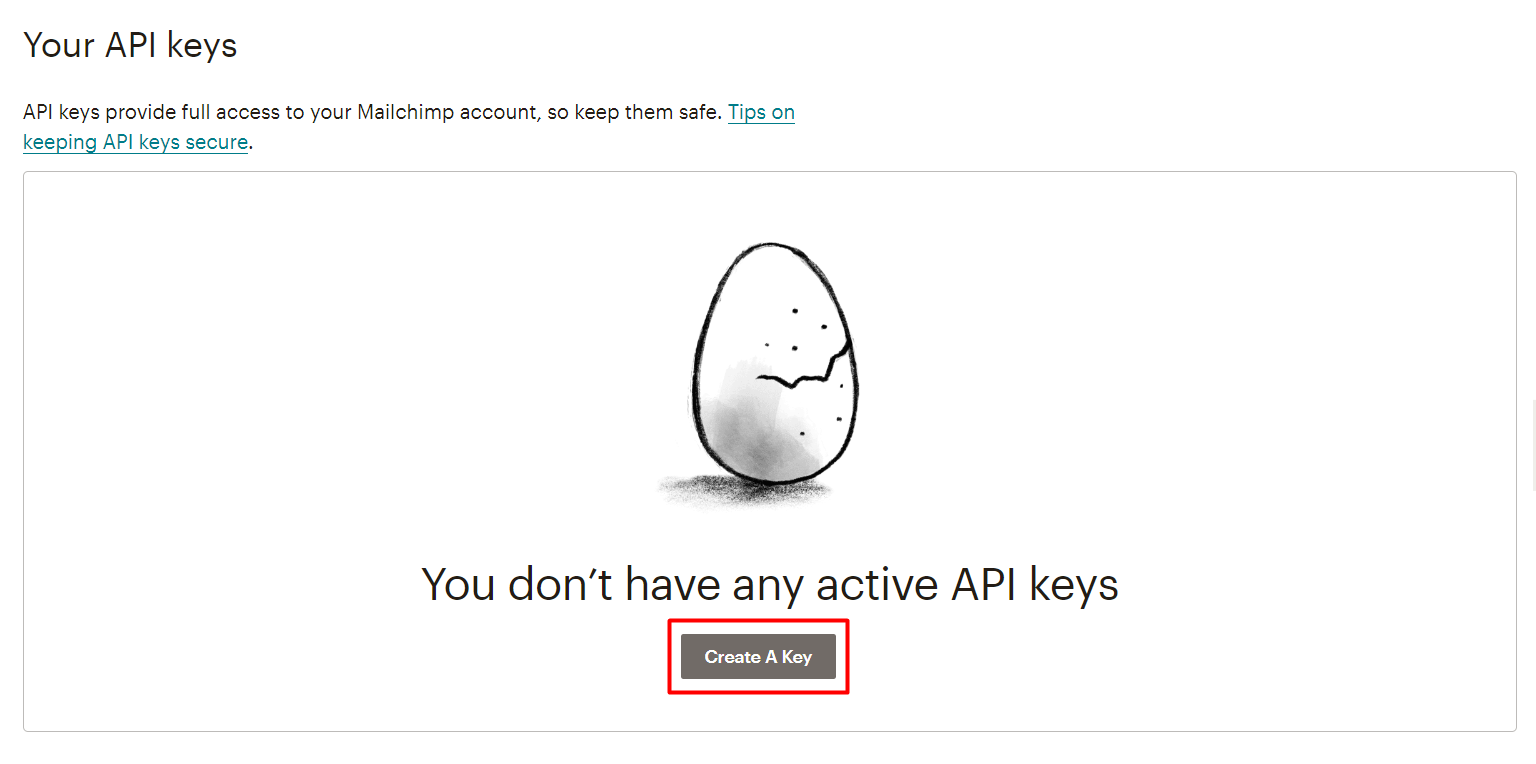
5. The API page will load and display your Mailchimp API Key. You need to copy this key. 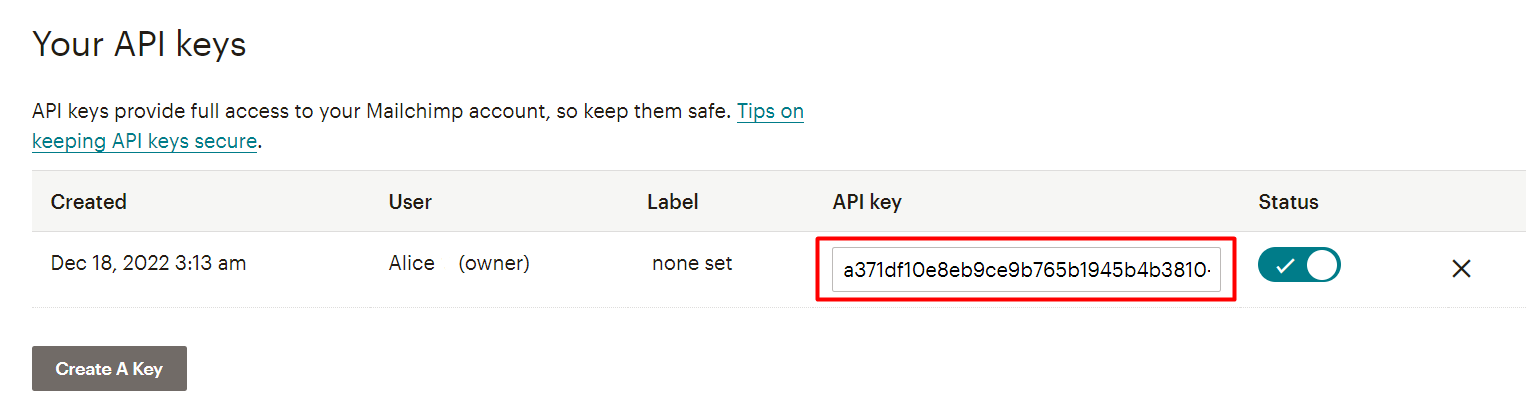
Also, you can add a label to your key, so that you know what application uses that key.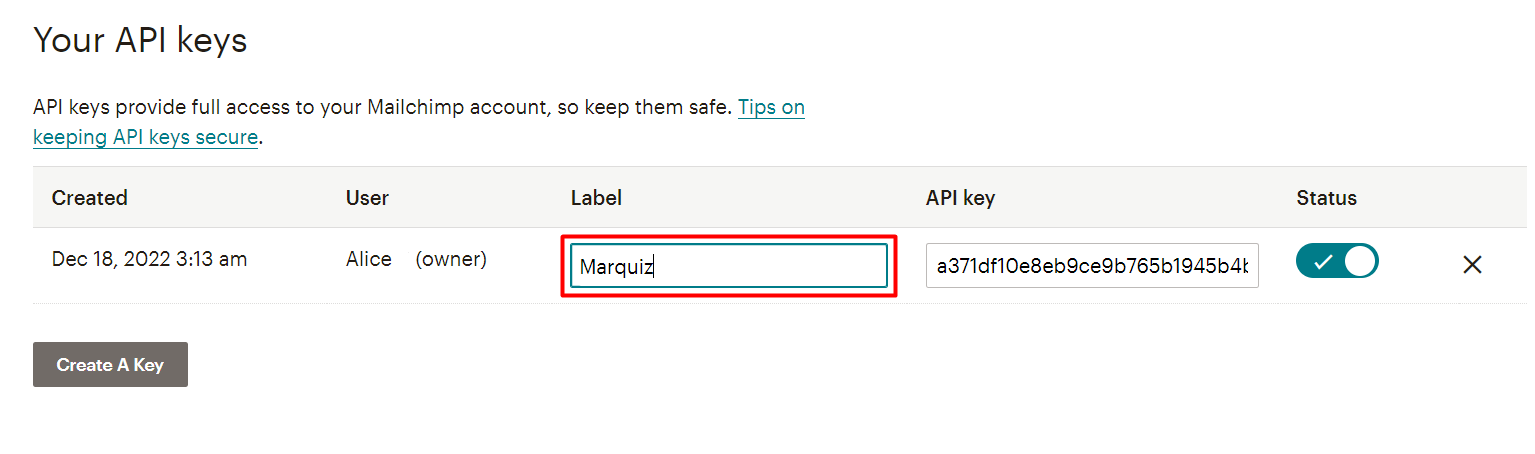
After that, go to the quiz editor → Integrations tab and select Mailchimp. Here you’ll find a field for the API Key. Paste the copied key into that field.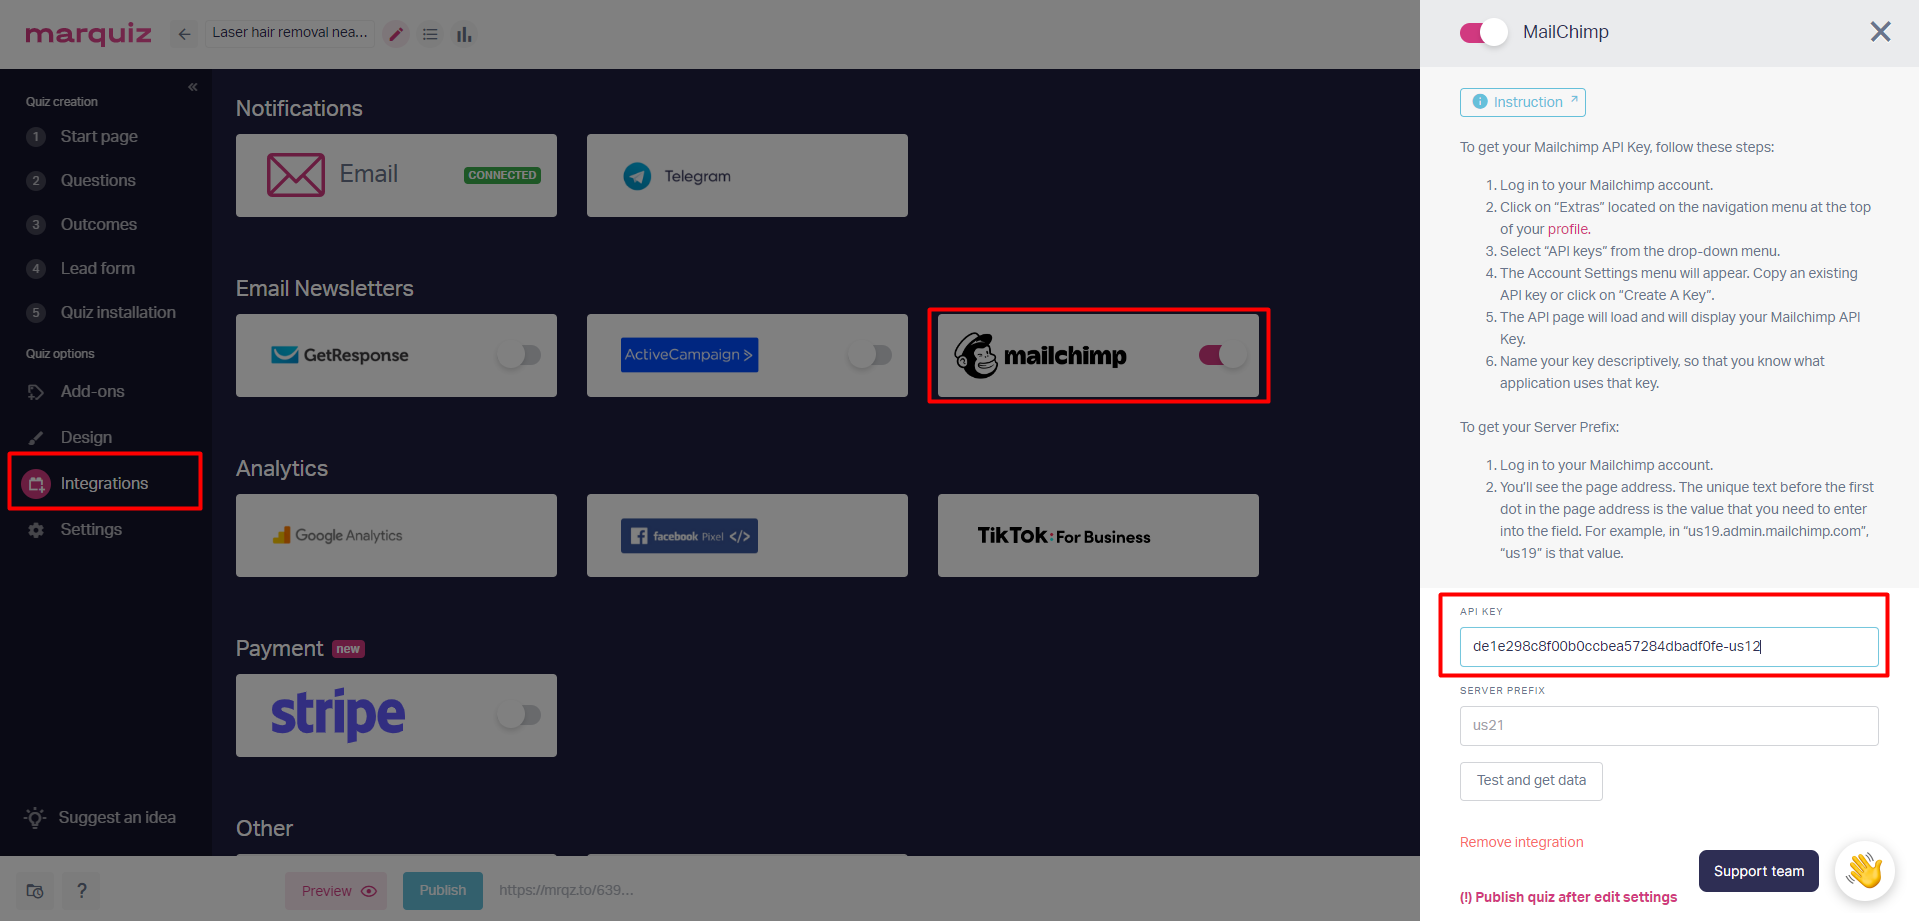
Then, you will need to add a Server Prefix.
To get your Server Prefix, you need to follow these steps:
1. Log in to your Mailchimp account.
2. You’ll see the page address. The unique text before the first dot in the page address is your Server Prefix. For example, in “us12.admin.mailchimp.com”, “us12” is that value. 
Copy that value and paste it into the Server Prefix field in the Integrations tab.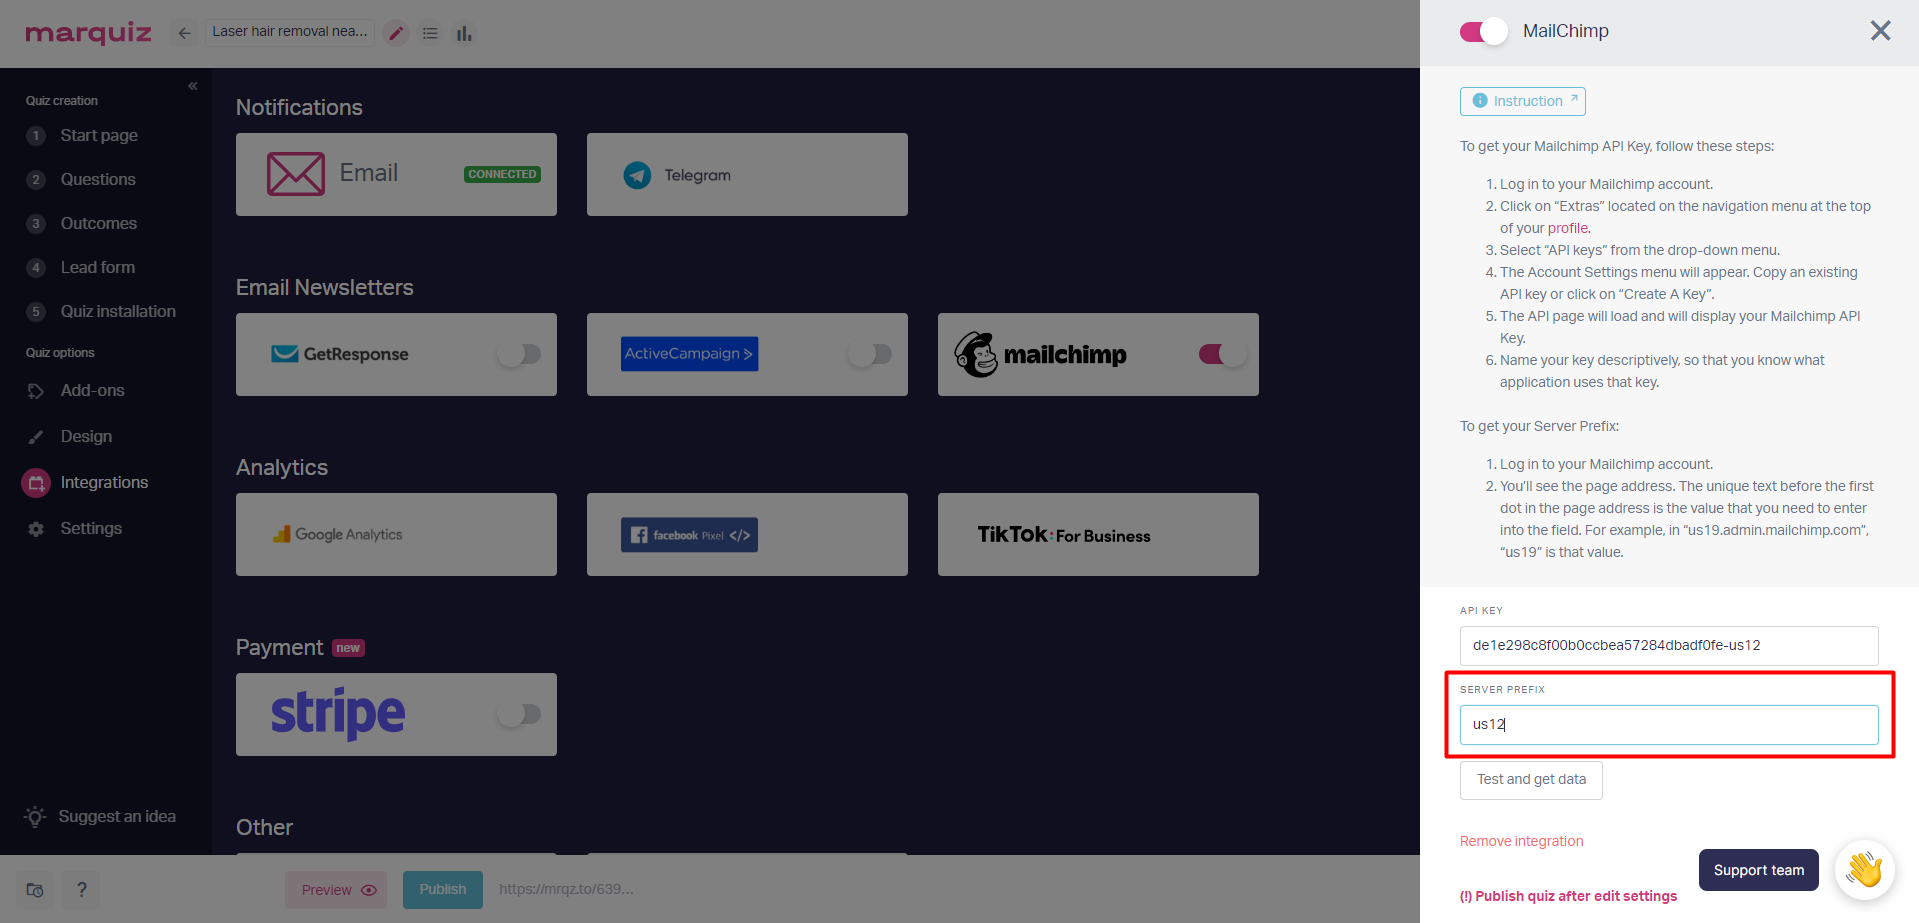
Now click on "Test and get data":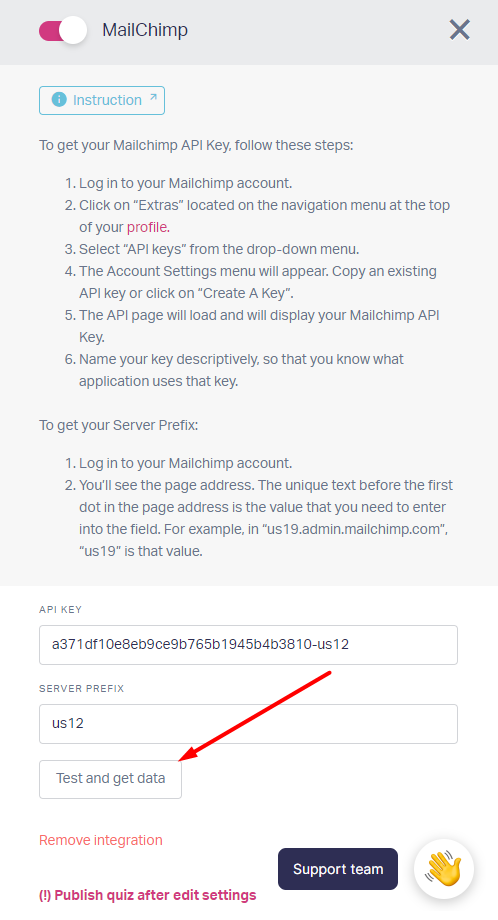
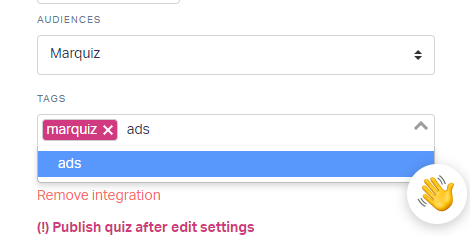
If everything is set up correctly, the "Connection established" message will appear. After that, you can select Audiences and tags: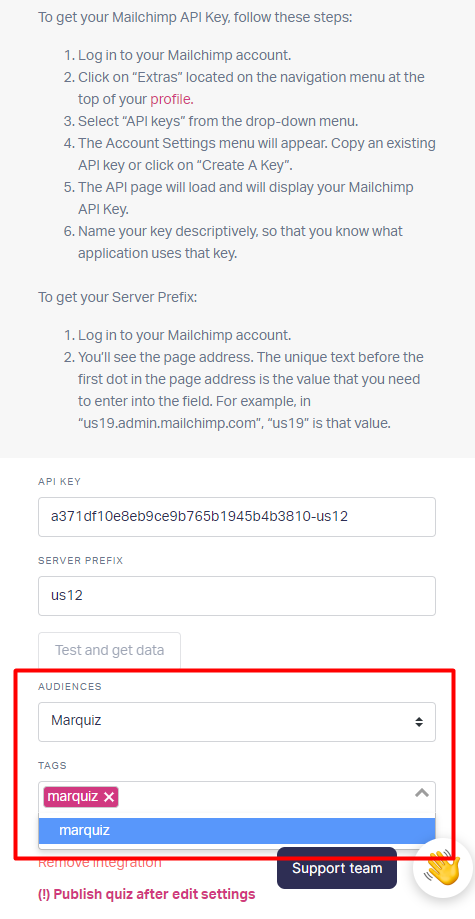
To create tags, you need to go to the Audience -> Tags tab and click on "Create tags".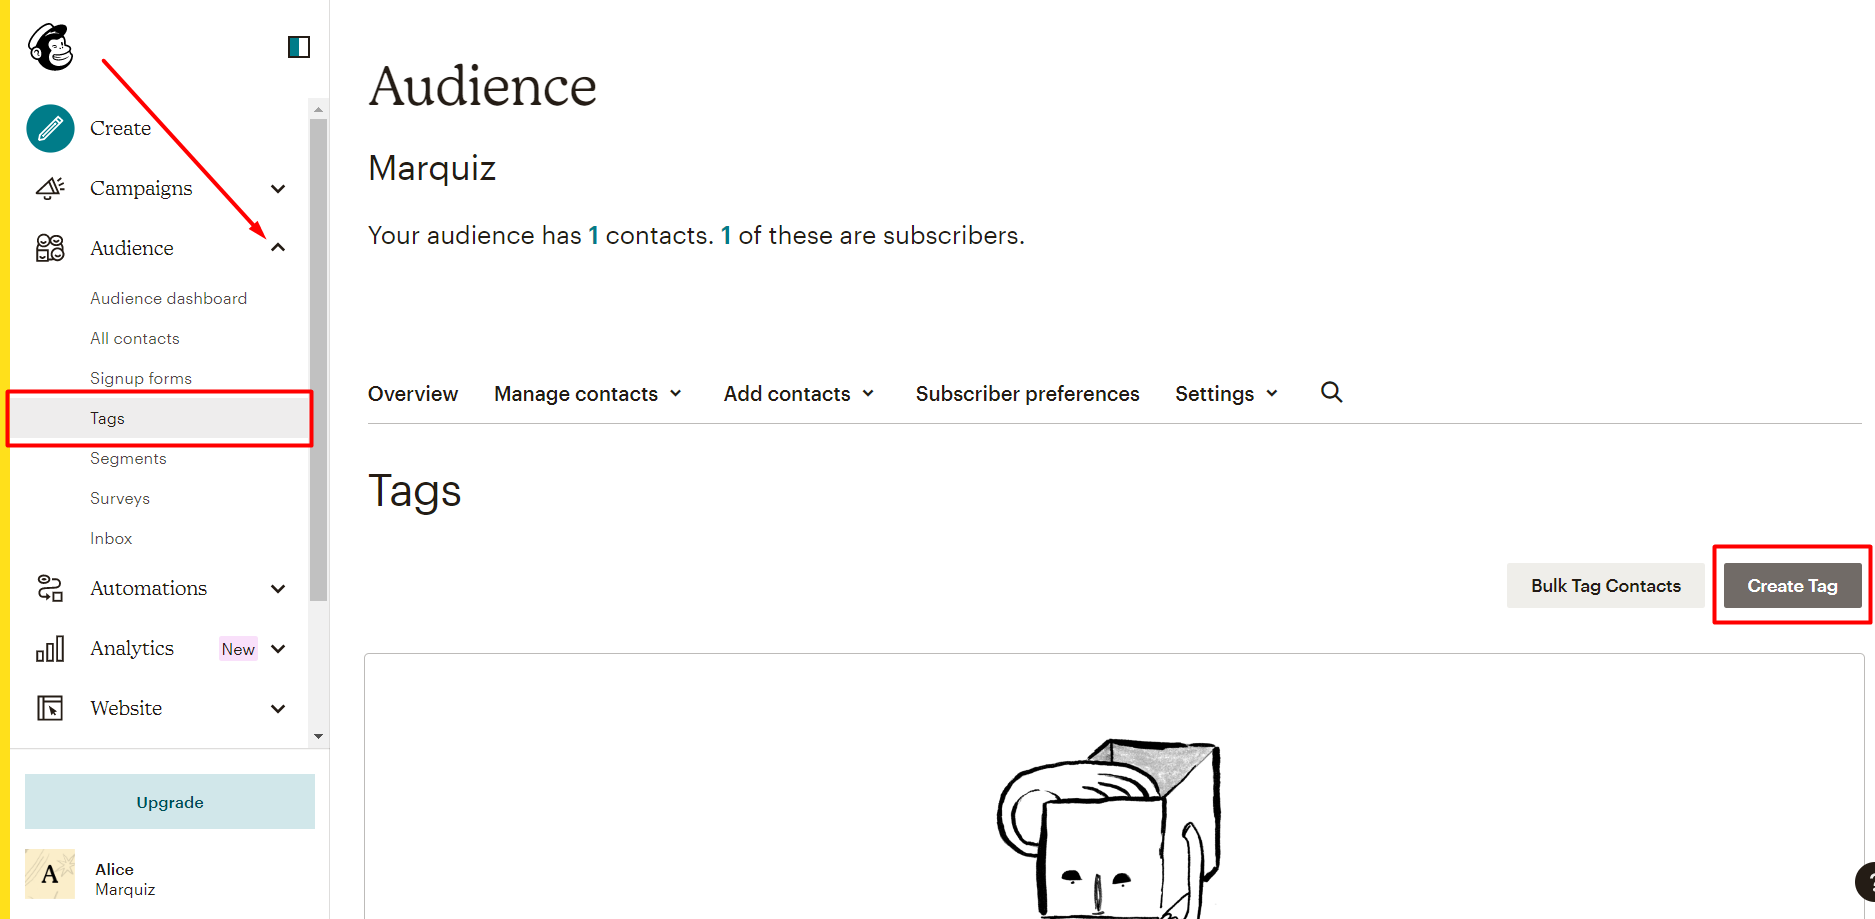
Or you can create tags by simply entering them in the tags field in the integration settings.
Now save the quiz by clicking on the "Publish" button in the lower left corner.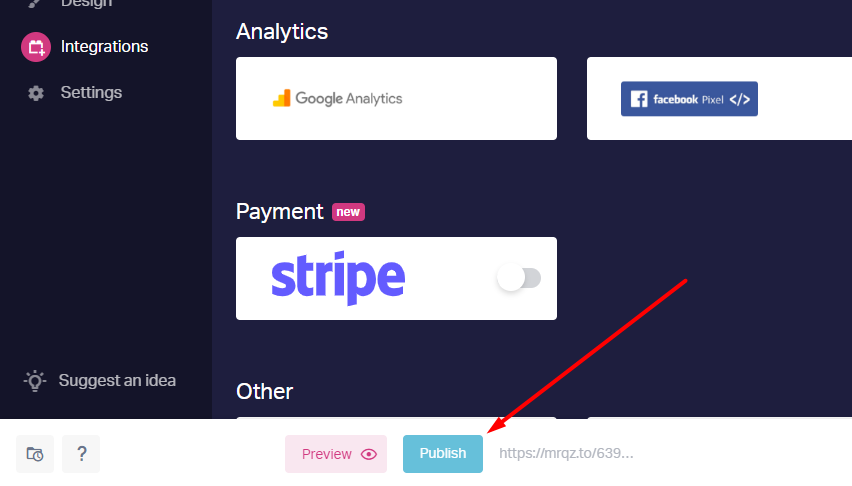
All done!
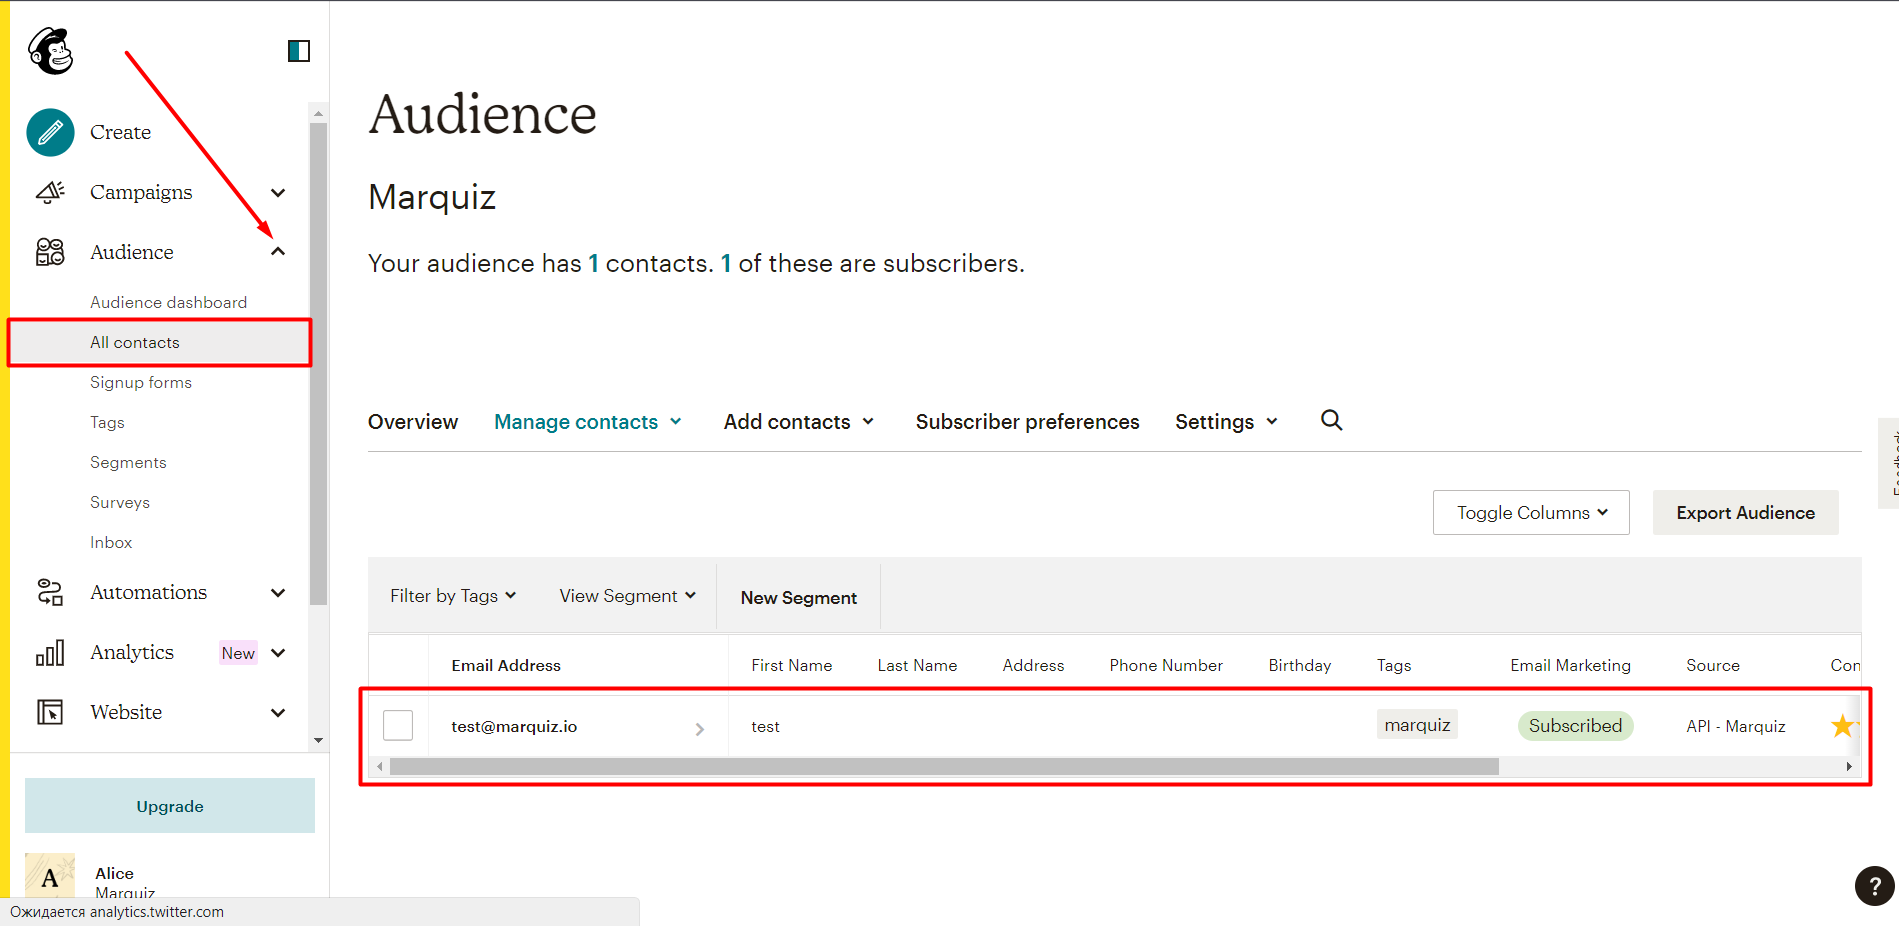
After the new lead is sent, the lead information will appear in the Audience -> All contacts tab.