
How to create a quiz in 10 minutes in Marquiz
Preparation:
Before you start creating a quiz, go through the checklist below:
- Paint the picture of your customer and what value they can get by passing the quiz. If you have several products, it is possible that your customer will be able to choose the most suitable product with the help of a quiz;
- What kind of questions can you ask so that the future client will be interested in answering them? The main rule - do not burden them with unclear wording, they came to you for a solution to the problem, and not for getting new questions;
- Don't forget to define your goal: not all quizzes can be created before receiving leads, it may be more useful for you to use the quiz to study customers;
- Think through the offer at the last step, add a strong reason to your customer to leave their contacts right now
- Prepare the images that you would like to upload (on) to your quiz
Now you can start the technical implementation
The basic version of the quiz is a set of 4-6 questions and a contact capture form.
1. Go to your personal account on Marquiz and click "Create" -> choose one of the suggested templates, start creating everything from scratch or generate a template using AI.

2. Enter the name of the quiz — it will be available only to you.
3. In the "Start page" section, click "Create".
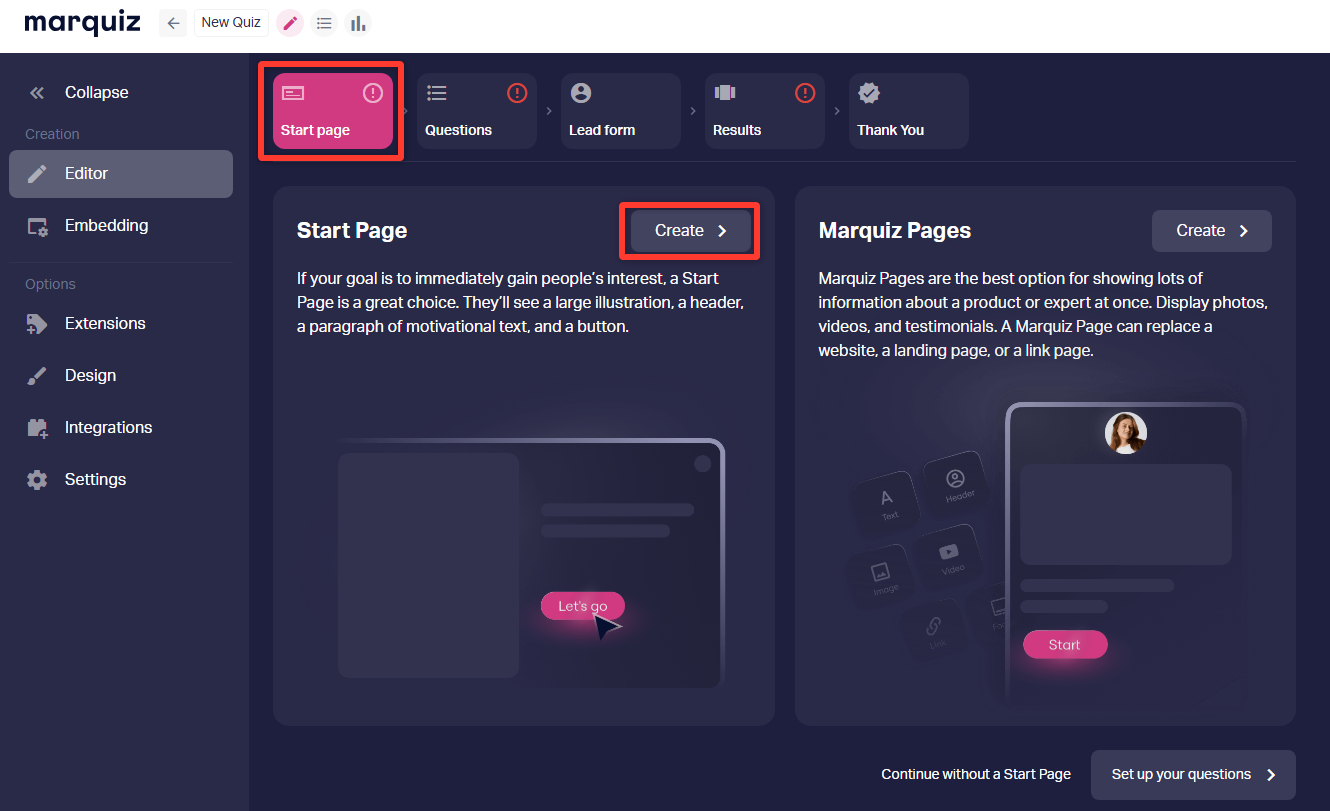
4. Upload an image or video to the home page.
5. Add a title that indicates the value of taking the quiz.
6. Supplement the value with a subtitle.
7. Come up with text for the button.
8. Provide legal information, as well as your company's logo and website.
💡 Instead of a start page, you can create a landing page - Marquiz Pages
Question settings
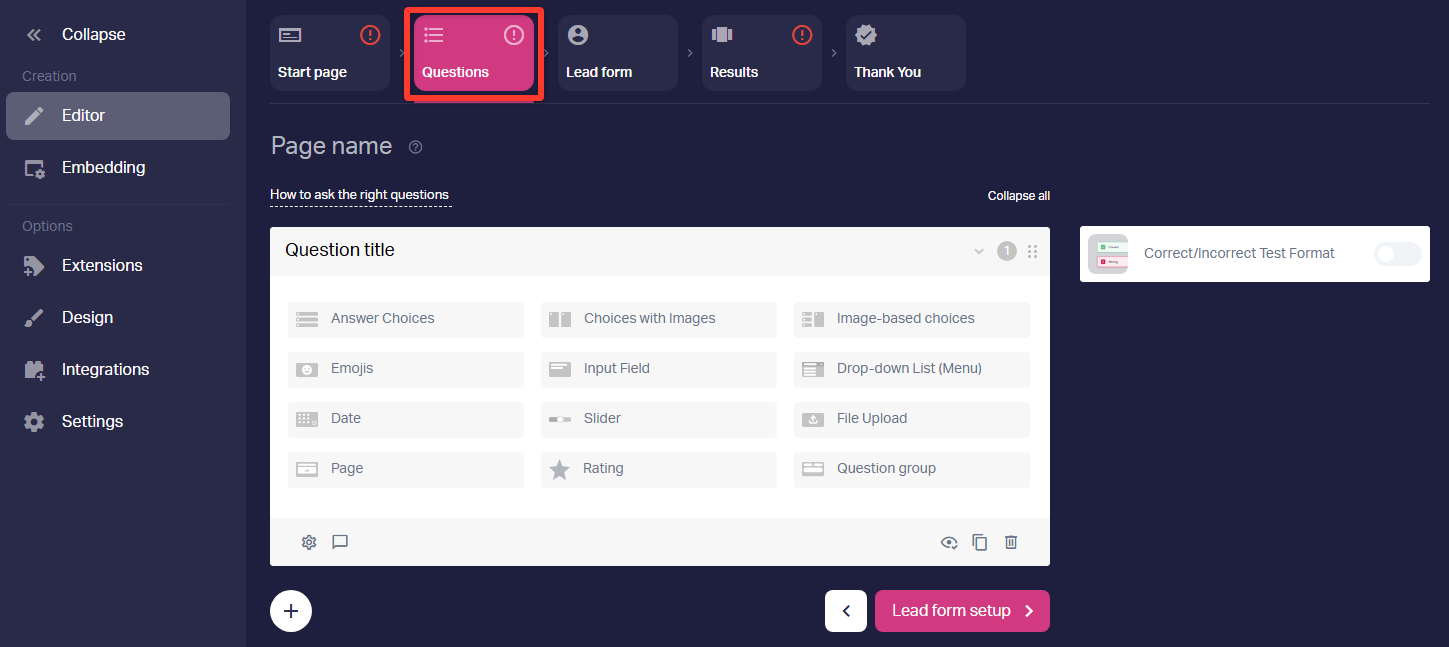
1. Go to the "Questions" section.
2. Choose the answer type for your first question — we recommend using something simple, with options to choose from: "answer option", "options with pictures" or "emojis".
3. Ask a question — make sure that it will be clear to your client. In the hint, we recommend adding the reason for such a question, this raises the number of answers.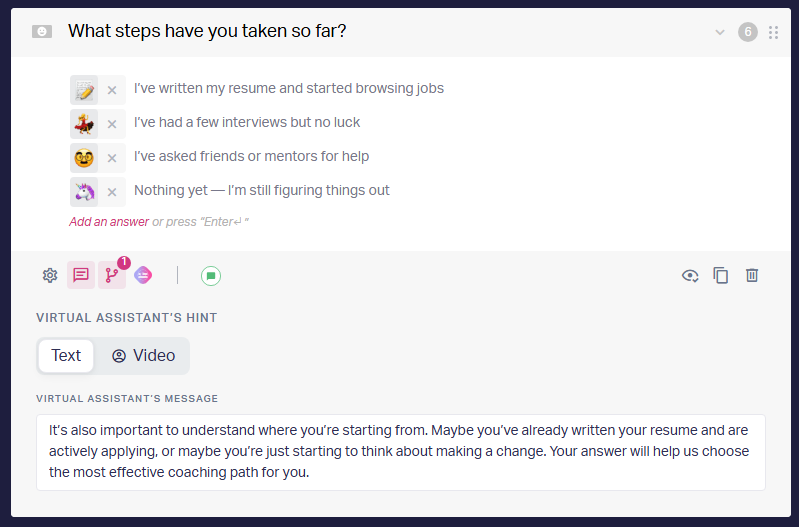
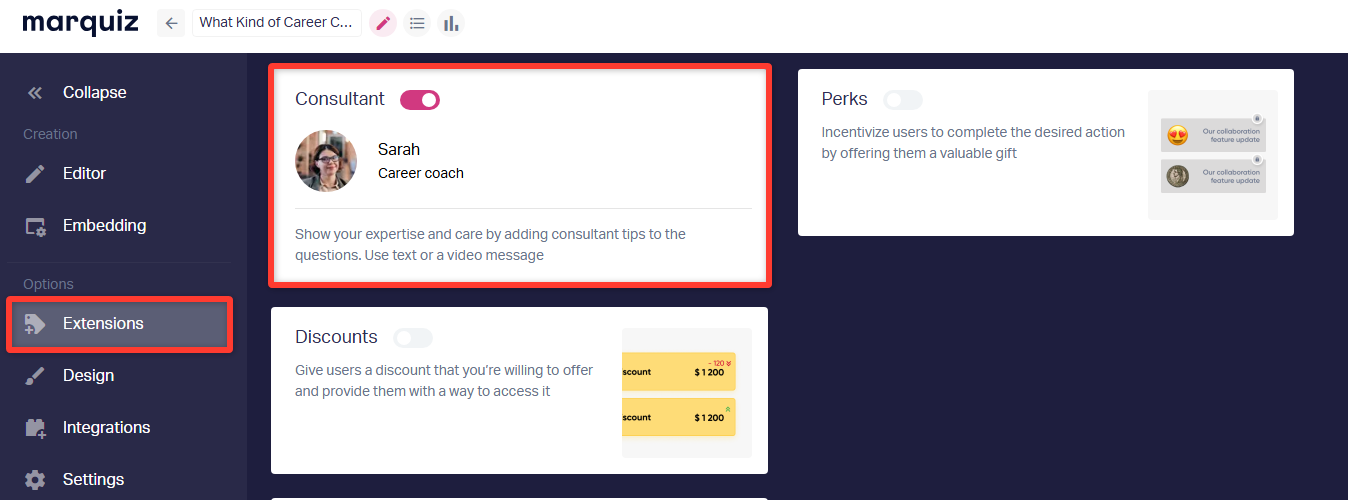
Add a photo, name, and position of the consultant (it will be displayed if there are comments on the questions) in "Extensions".
4. Add answer options. If this is applicable, you can allow your clients to select multiple options, enter their own option, or skip the question.
Also, you can add an internal Question name, that will be shown as Title of the question in leads.
5. "Save and publish" and move on to creating your next question.
💡 To learn how to set up branching logic, read this article
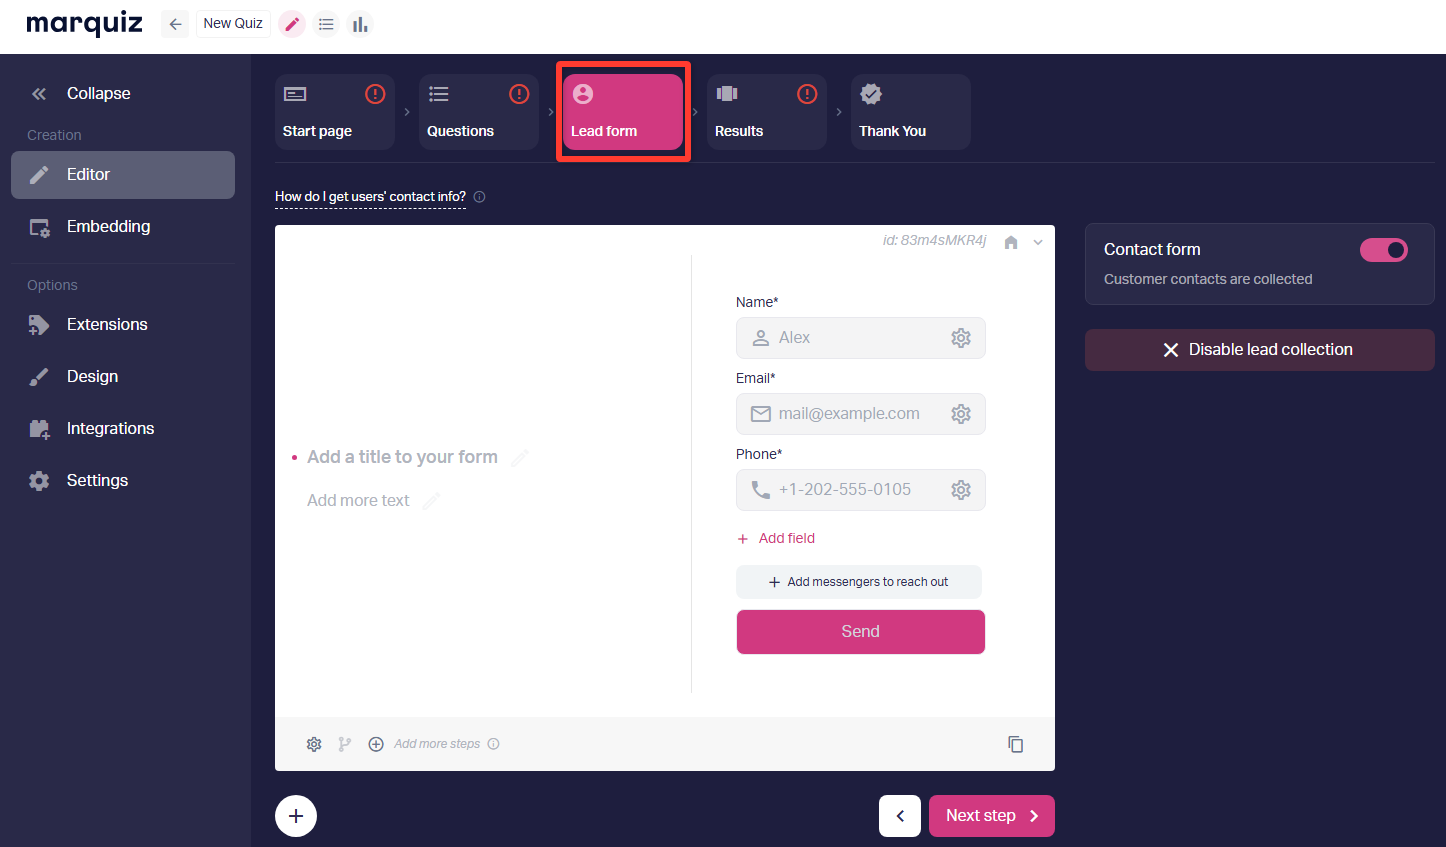
Setting up the lead form
1. Go to the "Lead form" tab.
2. Add the required form fields, for example, name, e-mail and phone number.
3. If you want to offer to leave the contacts of different messengers instead of the mobile number — you need to set it up by clicking on the "Add Messengers".
Now let's set up the form text:
1. Write a Heading, make sure that the title has a reason to leave you contacts right here and now.
2. You can add "text" if you want to expand your offer in more detail.
3. Set the button text.
4. Set up action after submitting the form: you can show a thank you message or forward it to any URL after filling out the lead form.
After everything is set up, don't forget to "Save and publish" the quiz.
💡 For more details on how to set up the contact form in the quiz, please refer to the instructions
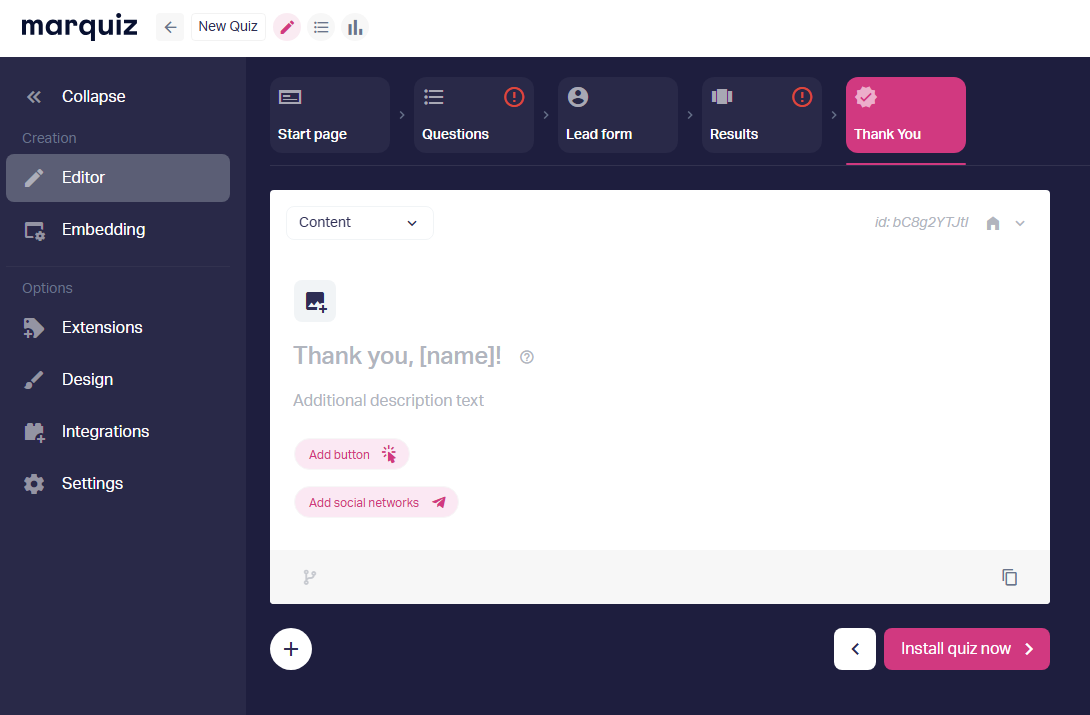
Setting up the "Thank you" page
1. Go to the "Thank you" section.
2. Add the desired text.
3. Add a button with a link to the website and social networks.
💡For more information on how to set up the "Thank You" page, see here
Features to boost conversion
1. Go to the "Extensions" tab.
2. Enable the discount and choose one of the 3 options for presenting it.
3. Turn on the perk: give it a name and a link that will open after filling out the form.
4. Enable the conversion trigger and customize the text that will appear on the quiz's start page.

Your quiz is ready, but you can improve it by adding results or product cards if you enable the "Shopping cart" feature.
💡 How to configure quiz results is described in the instructions
💡 For more information on how to set up a shopping cart in a quiz, see here